Inside the Shakespeare Press Museum
Audio by Dylan White
In search of a new creative fixation, I recently stumbled upon the Shakespeare Press Museum, tucked away on the bottom floor of the Graphic Communications Building (Building 26, Room 116).
Upon entering, I was greeted by former head curator, Bucky Stewart, a recent graphic communications graduate with a deep passion for print. Stewart gave me a tour of the museum, which has been open since 1969.
They shared the history of the museum, explaining Charles Palmer’s collection of vintage and antique letter/hand presses were donated to the department after his death.
I learned that while the museum’s name suggests a literary connection to William Shakespeare, it’s actually named after Palmer, whose love for poetry earned him the nickname ‘Shakespeare’ in high school.
Today, the museum is student-run, holding 18 working printing presses, alongside several hundred cases of wood and metal type. The space is utilized for graphic communications coursework, alongside personal projects for all students.
If you are interested in printing at the Shakespeare Press Museum, here are the 5 main steps you should expect:
Have an idea
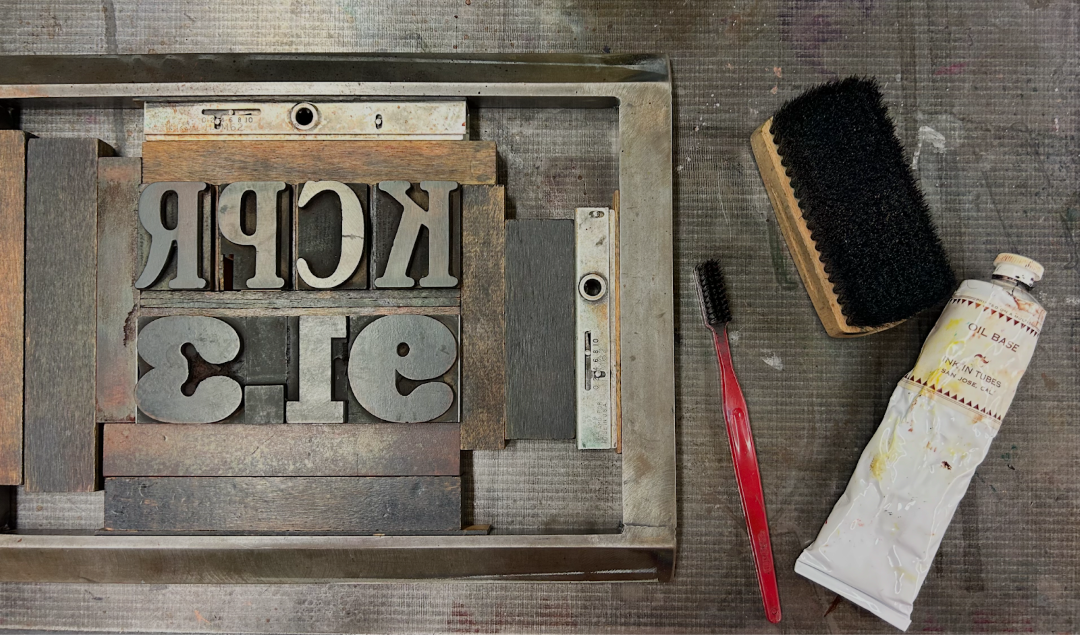
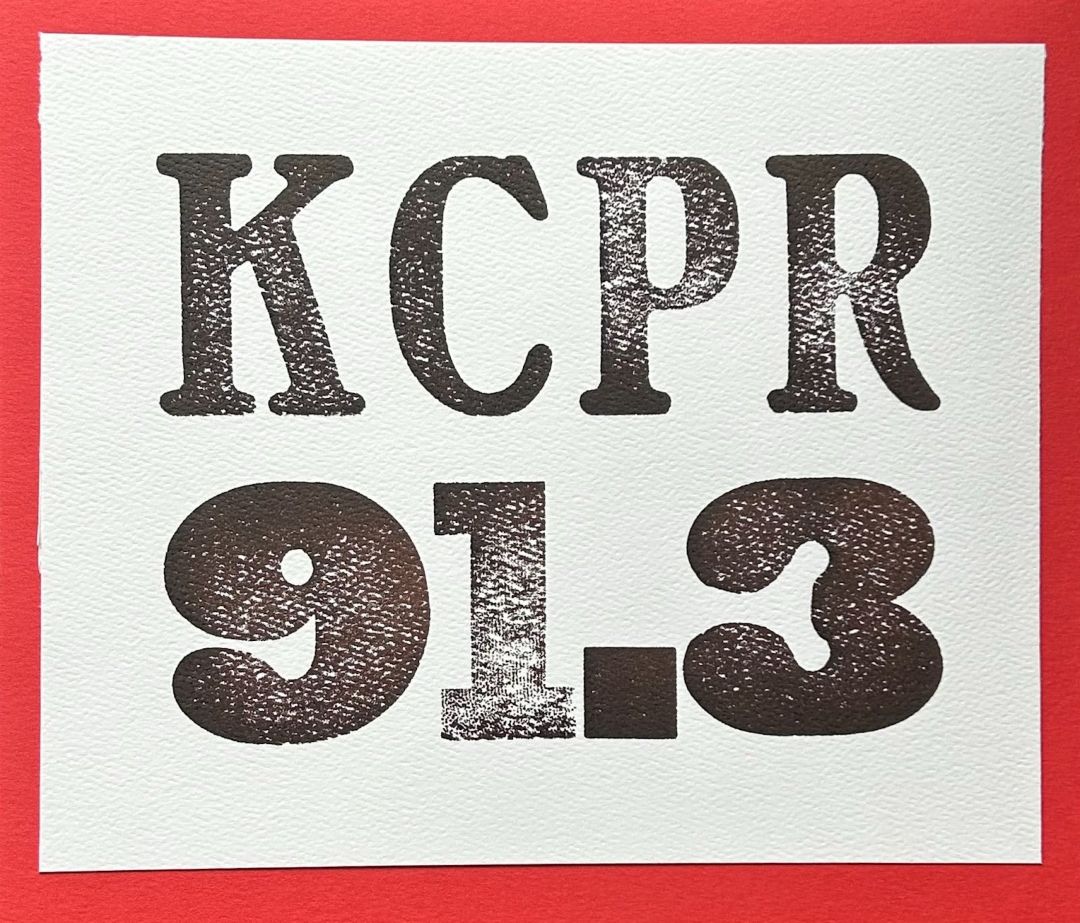
I went into the museum with the intention of printing a small poster with the text “KCPR 91.3.” It is a good idea to enter the space with at least a small idea of what kind of project you would like to work on. Students often make decorative signs, posters or cards for various holidays.
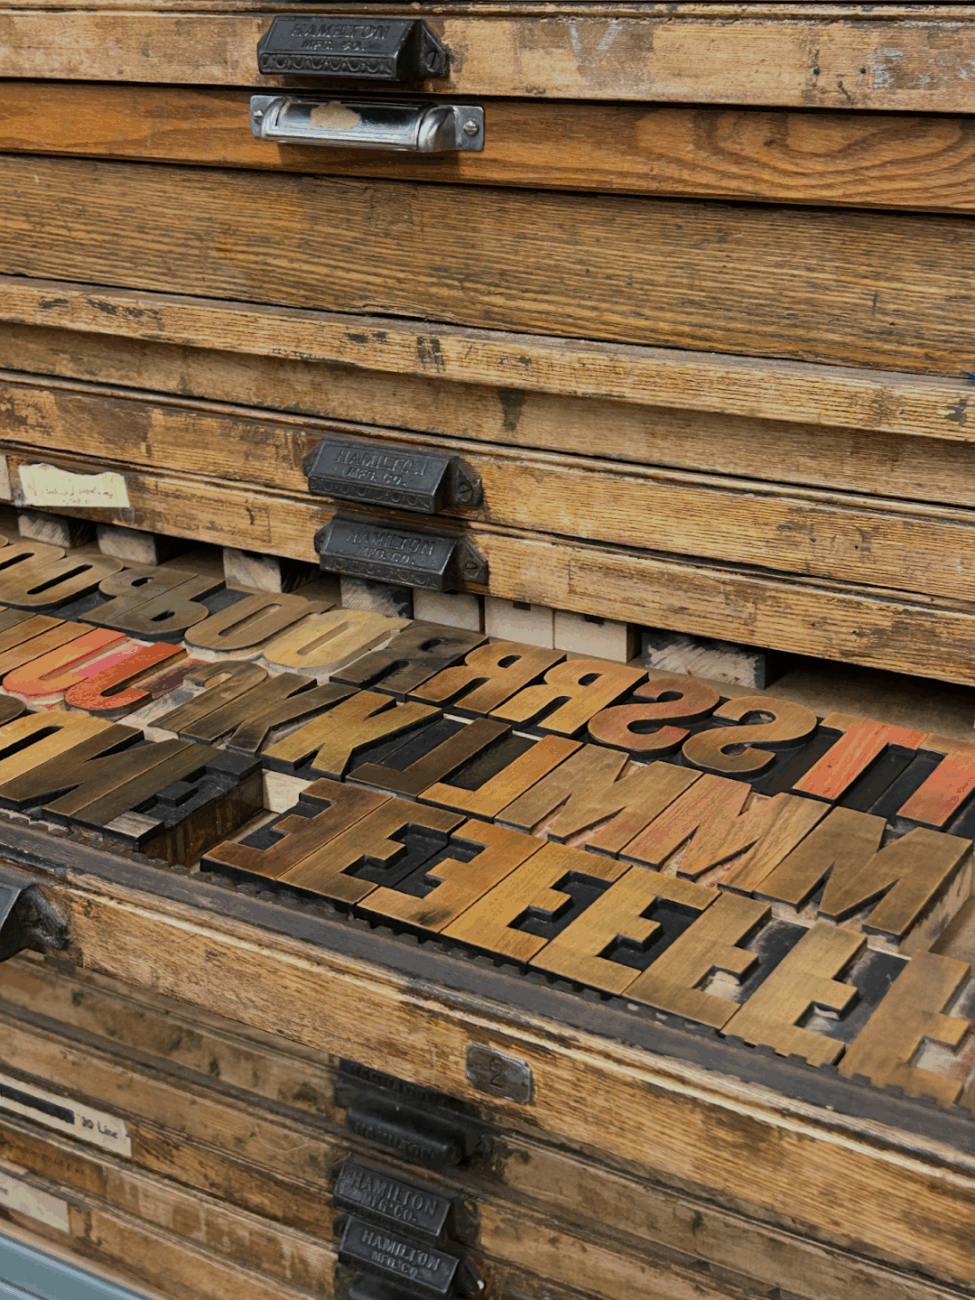
Pick your typeface
There is no shortage of type in the Shakespeare Press Museum, with ceiling-high cabinets along the room filled with wood and metal type. After geeking out over all the typefaces, I decided on two for my project. The museum also requires participants to fill out a project card to track which typefaces students are using to ensure proper cleanup.
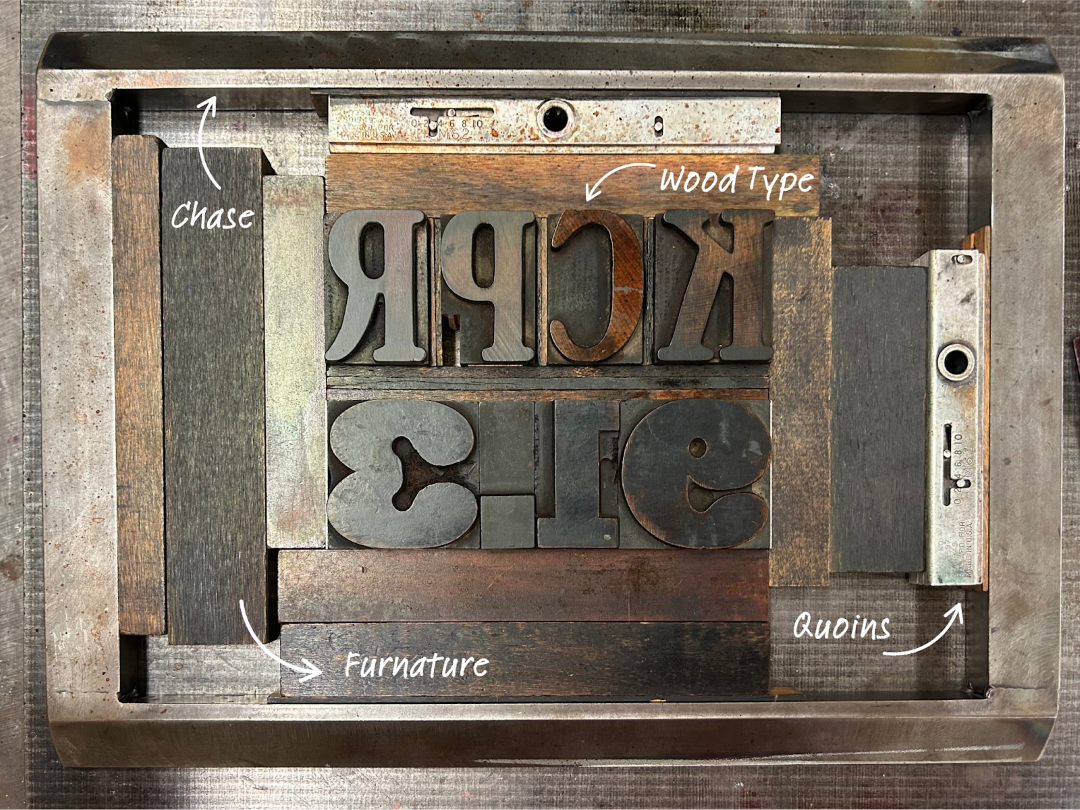
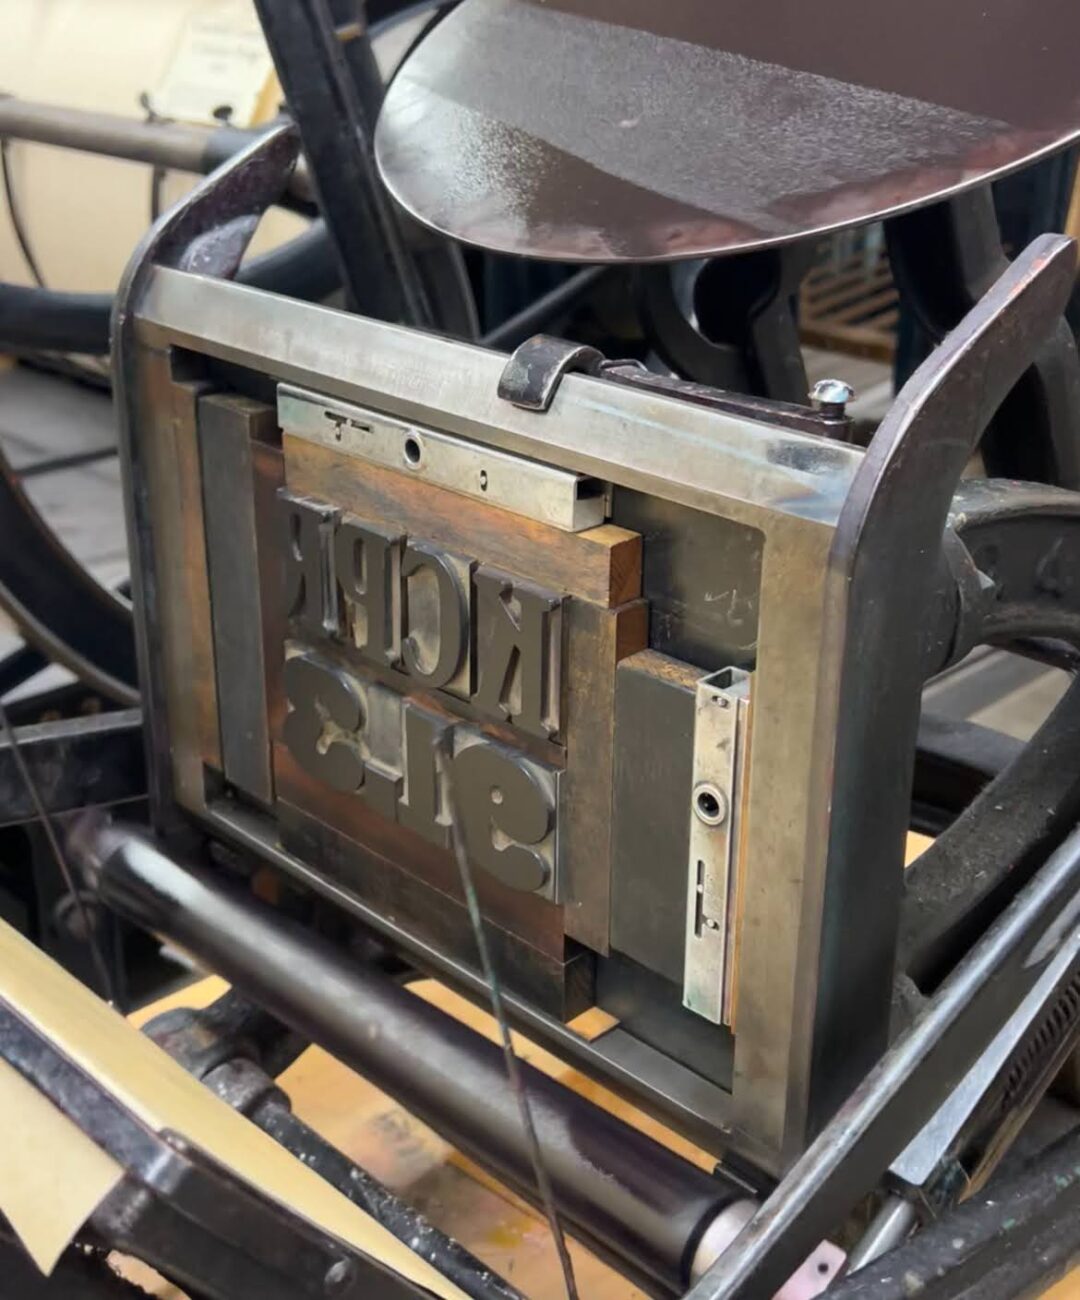
Lay out design
Various tools are used to secure the desired type in place. Quoins are used to tightly lock furniture (wooden blocks that fill spaces) within a chase (the frame holding a project together) to ensure type remains stable during the printing process.
Pick your Color & Paper
Oil and rubber-based inks are used for student projects at the museum. I chose to use a tabe brown for my project, but there is a large plethora of colors available. There are many different types of paper to print with, ranging from finish, weight and size.
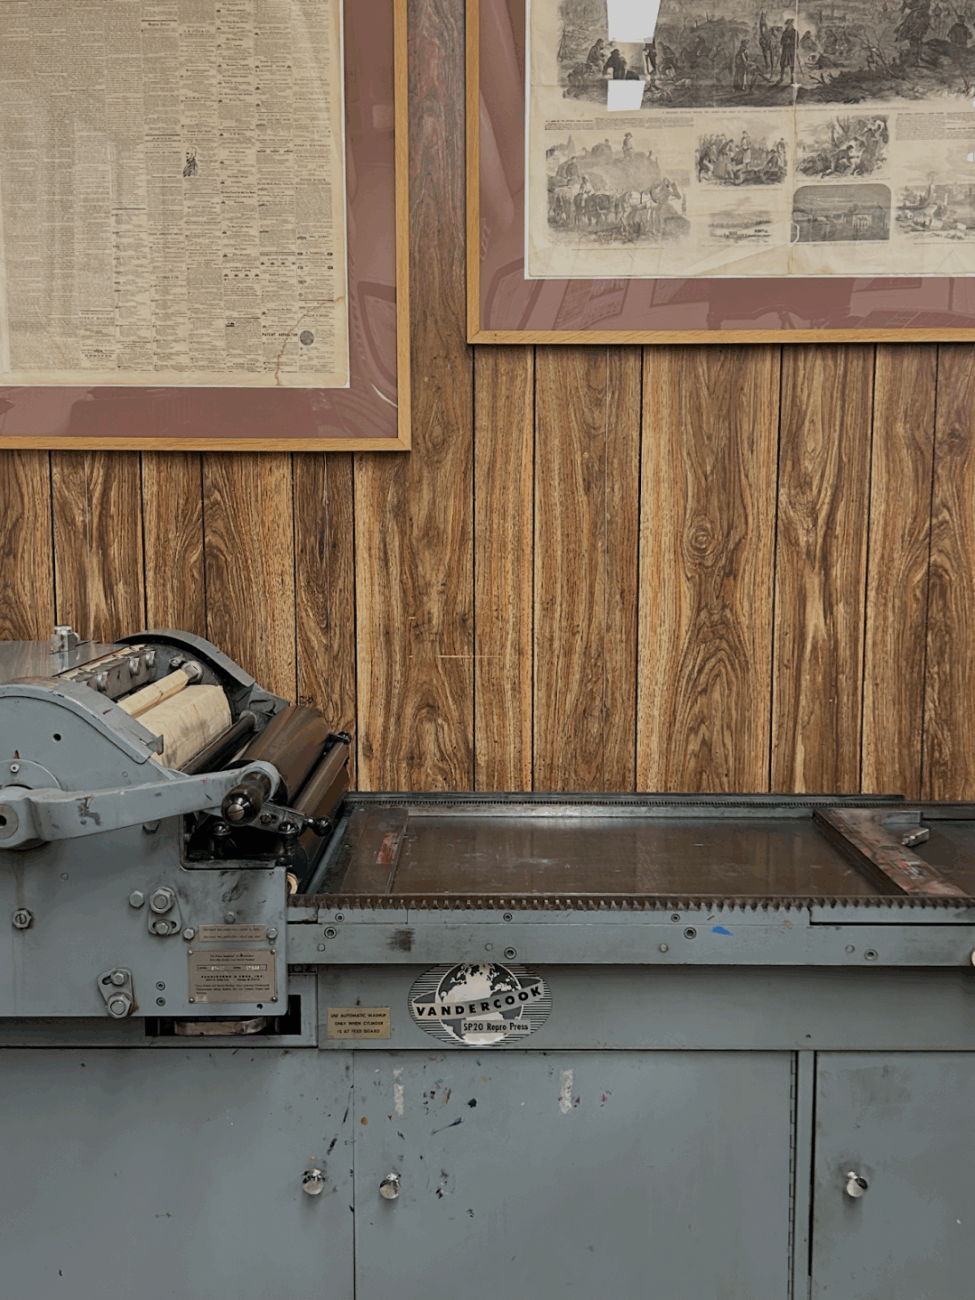
Print!
This is the most satisfying part of the process (in my opinion). The various eighteen presses within the museum are all in active working condition. For my project, I used the Columbian No.3 press.
Extra Important Last Step: Clean
Don’t forget you must clean and clear your project after completion!
The Shakespeare Press Museum hosts many events each quarter, open for students to experience the art of printing without the time commitment of creating their own individualized project.
Completing my KCPR 91.3 poster took around three hours spread across two sessions.
If you are interested in learning more about the museum or creating your own project, you can visit during their Fall Quarter open hours, Monday/Wednesday 10 a.m. – 1 p.m. or Tuesday/Thursday 10 a.m. -12 p.m., and “Print like it’s 1897.”
